In this tutorial, we’ll go over how to turn your FL Studio project into an MP3 or Wav file by exporting it. It’s very easy and should take no more than a few seconds to do. Just follow these instructions!
To export the music you’ve created in FL Studio. All you need to do is the following.
Go to Settings –> Export, and then choose the format you want to export. The two most popular formats are Wav and MP3.
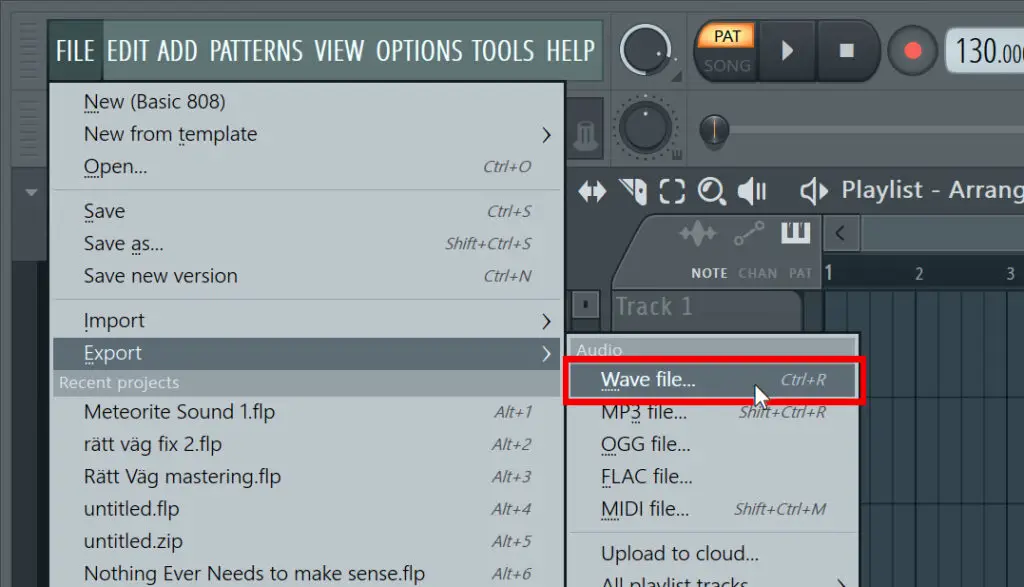
When you’ve made the file type selection, choose a location to save your file(s). After this, the settings window will pop up.
Settings
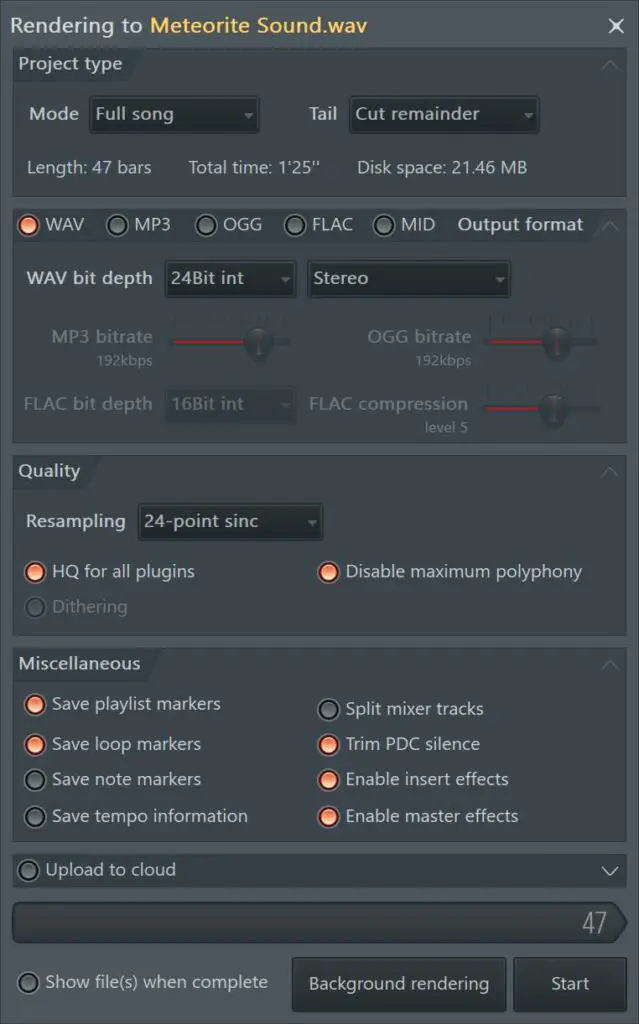
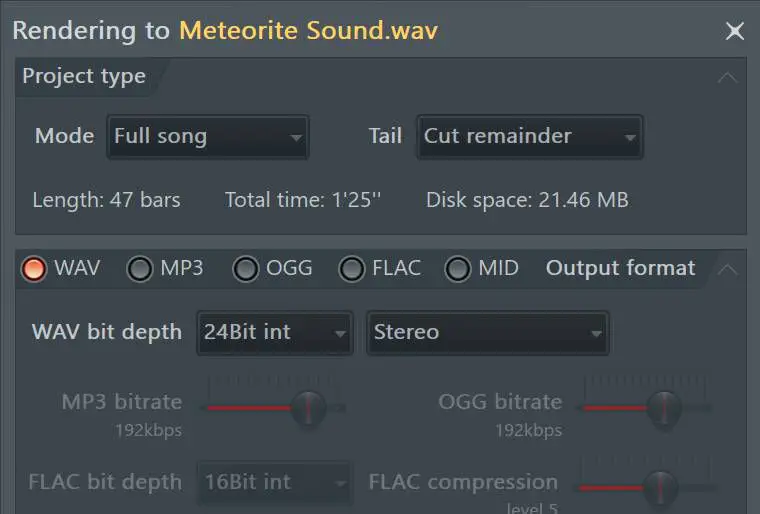
When you get to the settings, it may be overwhelming. But here are the things you need to keep in mind.
- When Exporting MP3 Choose 320Kbps
- When exporting WAV choose 24Bit int or higher
- Choose Tail: Cut remainder
Other than making sure these settings are active. The other default settings are okay.
Just click Start to create the audio file.
If you want more detailed information on the best export settings, you can check this out.
That’s It!
Thanks for using this tutorial and make sure to head back to Meteorite Sound for more quick information on FL Studio. Lastly, if you find yourself wanting to export stems, we have a separate tutorial for this!


