There are many configurations and settings when exporting audio in FL Studio. But in fact, one configuration will work for almost everything, and you may do yourself and others disfavor if you deviate from these settings.
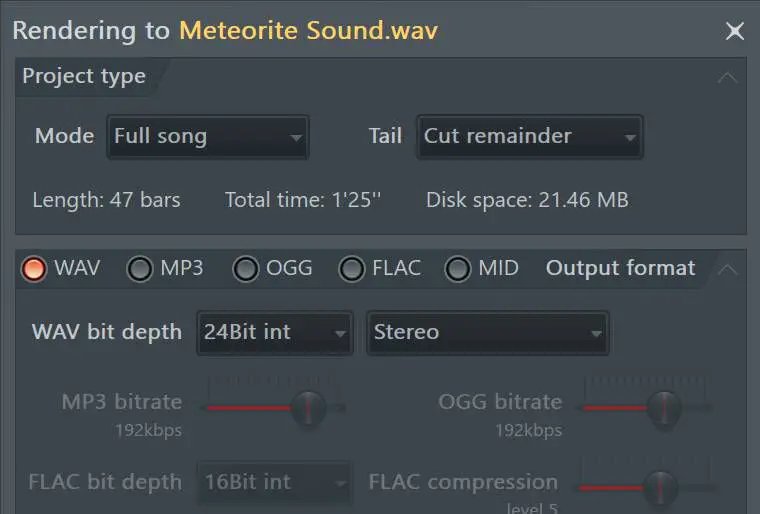
This is the settings window you see when exporting audio in FL Studio. I will break down all of the settings further down on this page. But these are the optimal settings for almost every project.
- If you choose to export as MP3 then choose 320kbps
- If you export as WAV choose a bit depth of 24 or higher.
- At the top of the settings, go to Tail and change it to Cut remainder
If you got the above settings, the other settings are perfectly good by default.
Recommended Settings
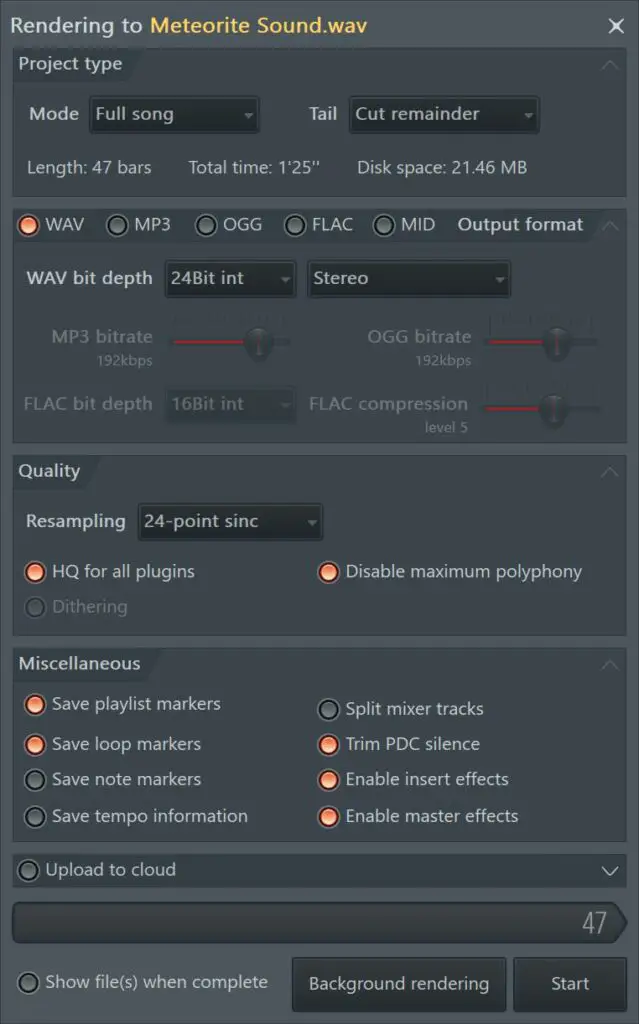
The export settings are divided into different categories. Here is a more advanced breakdown of the recommended settings as well as what each setting does.
Project type
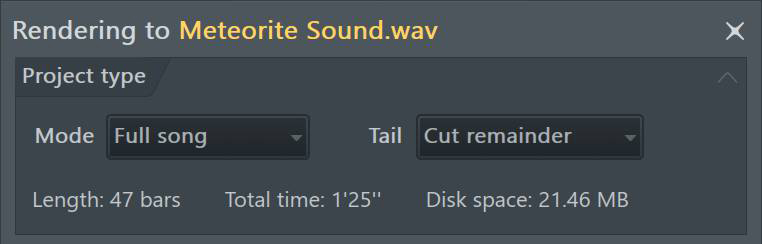
- Mode: Full Song
- Tail: Cut Remainder
Firstly we have the settings for Mode as well as Tail. The tail is an extra split second that is added when exporting audio. But by choosing the “cut remainder” option, you export only the area you select and nothing more. This is important for keeping the timings of stems, samples, and loops consistent.
Quality
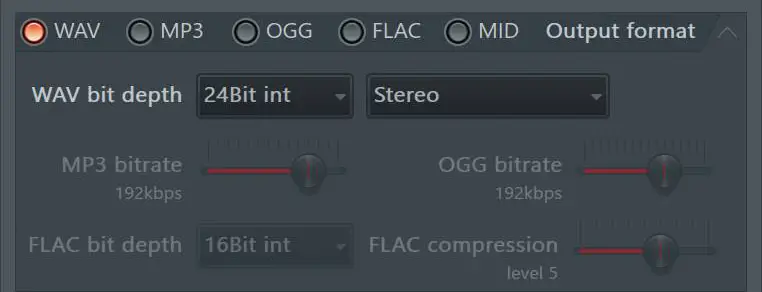
- WAV bit depth: 24Bit int
- MP3 bitrate: 320kbps
Bitrate and bit depth is the resolution of the audio you’re exporting. It’s the same as with pictures, higher resolutions yield higher fidelity, but there is a point at which you don’t need a higher resolution because you can’t see it.
I recommend the 24 Bit int as it’s the standard resolution in modern audio production. You can go with higher bit depths and bitrates at the expense of having bigger filesizes. But always export MP3 at 320kbps, because sometimes projects break or get lost over time. And by saving your files in 320kbps you are storing a backup of high-quality audio files.
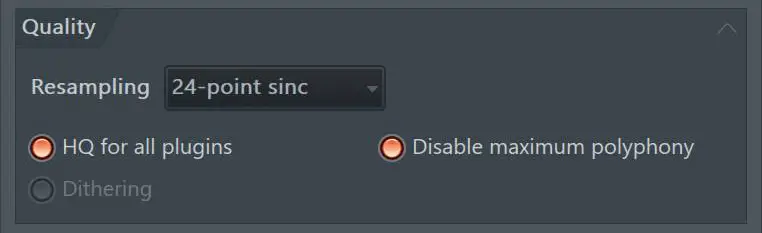
- 24-point sinc
- HQ for all plugins: On
- Disable Maximum polyphony: On
Resampling only applies to transposed audio clips. In short, this is when FL Studio has to bridge volume levels between sample points. Lower resampling rates take less CPU power to compute, but 24-point sinc is a good average level. You can increase this as much as you want, but your project may a longer time to export.
Disable max polyphony exists within the quality settings because of the setting “limit polyphony” within FL Studio, which limits instruments’ maximum polyphony. By activating Disable maximum polyphony you override this setting if it’s activated.
Dithering should only be applied in certain circumstances and you do not need to enable it for most purposes.
Miscellaneous
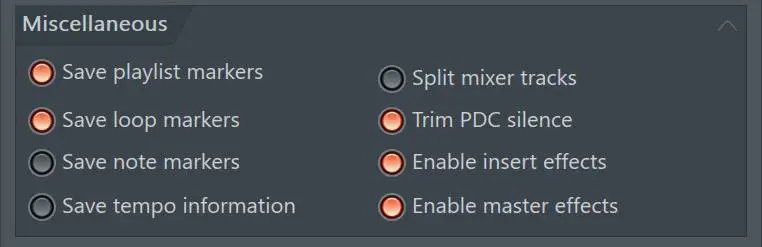
- Activate Save Tempo Information
Lastly, we have the Miscellaneous section with a little bit of everything. I am not going to go in-depth about all of the settings here. But I recommend you to activate save tempo information, as this will embed the tempo into the MP3 or Wav which is useful in some situations.
Use the default settings for every other option.


