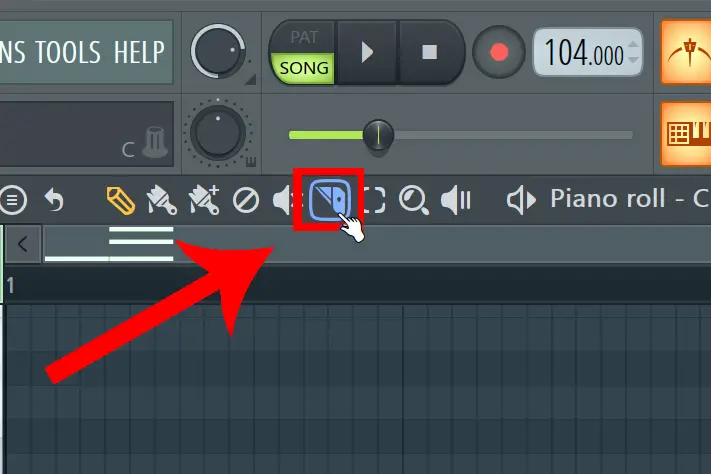
To cut in FL Studio you use the cutting tool. Just activate the tool, and then slice any audio clip or pattern by clicking and dragging. Then switch back to the draw tool to move your sliced objects.
And note that you can cut an unlimited amount of audio clips and patterns at the same time.
- Hold Shift when cutting to get a perfect vertical alignment
- When the typing keyboard to piano keyboard is not active. You can use the shortcut letters C and P to activate these two tools for a faster workflow.
- The cutting tool is available in both the Piano Roll and the Playlist
Additional Tricks
Here are some useful tricks I personally use every day when cutting audio clips and patterns in FL Studio.
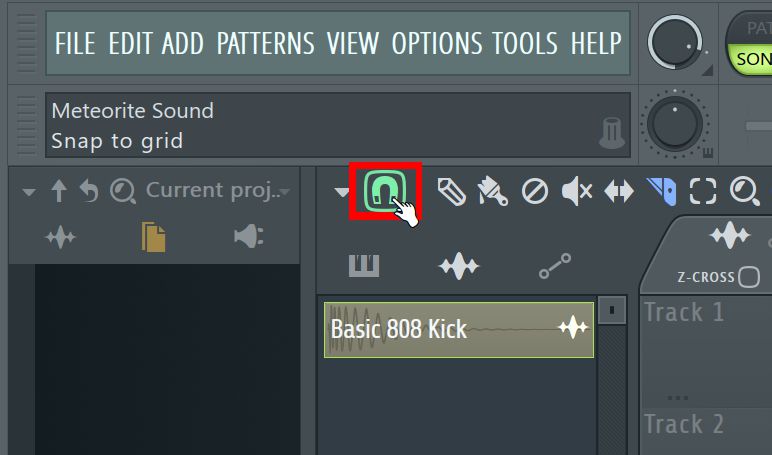
Snap to Grid Cutting
By adjusting snap to grid. You can cut objects so that they perfectly align with your timings.
Just click on it, and choose a length from the list. Then try to cut anything and you will notice how you can use this tool to make perfect cuts.
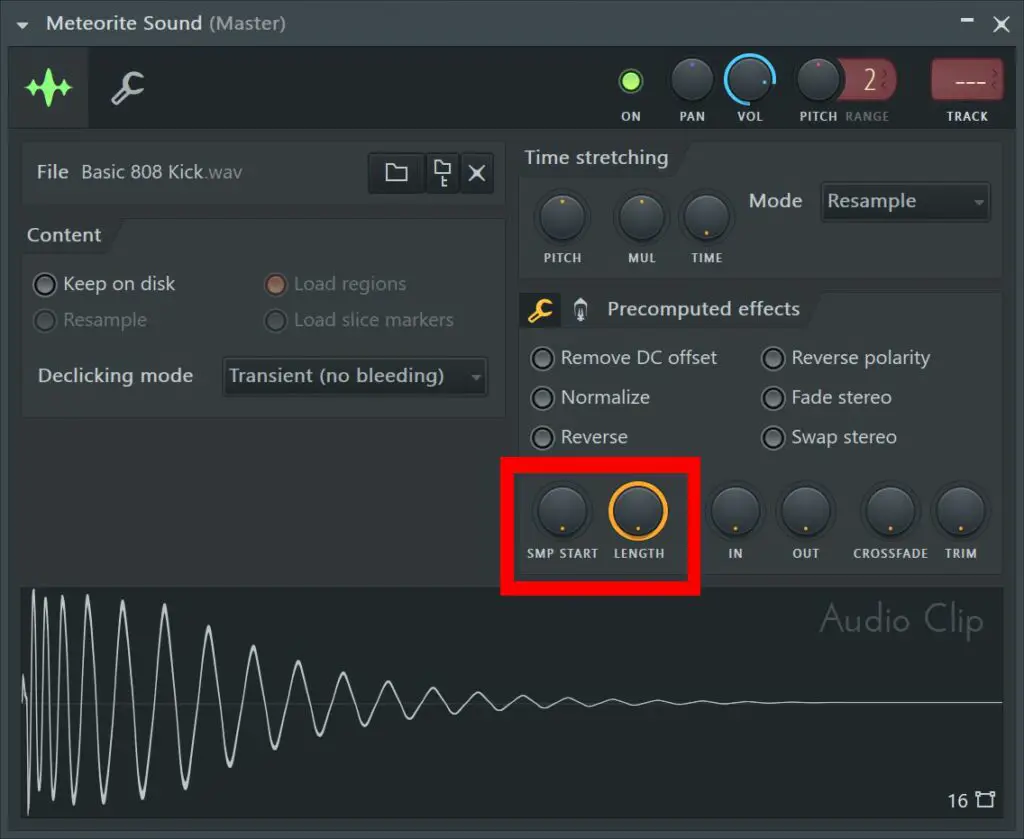
Cut Through Settings
Besides the cutting tool. You can cut the length of audio clips from the sample settings. Click on the icon in the top right corner of an audio clip.

- SMP START controls when the Sample begins
- LENGTH controls when the sample ends
That’s Everything
Thanks for taking part in this short tutorial. Hope you enjoyed it! Make sure to head back to Meteorite Sound in the future for more easy FL Studio tutorials.


