This easy tutorial will teach you how to copy and paste in FL Studio. We’ll go over how to copy and paste in the various areas of FL Studio. Additionally, we’ll go over some not so well known time-saving tricks to use when copying. Let’s begin with how to copy and paste in the Playlist Editor and Piano Roll.
In the playlist Editor and Piano Roll
Mostly you’re going to be copying and pasting within the Playlist Editor and Piano Roll. The following ways apply to them and you can just follow the super simple instructions to know how to do this really quickly.
The Easiest Way
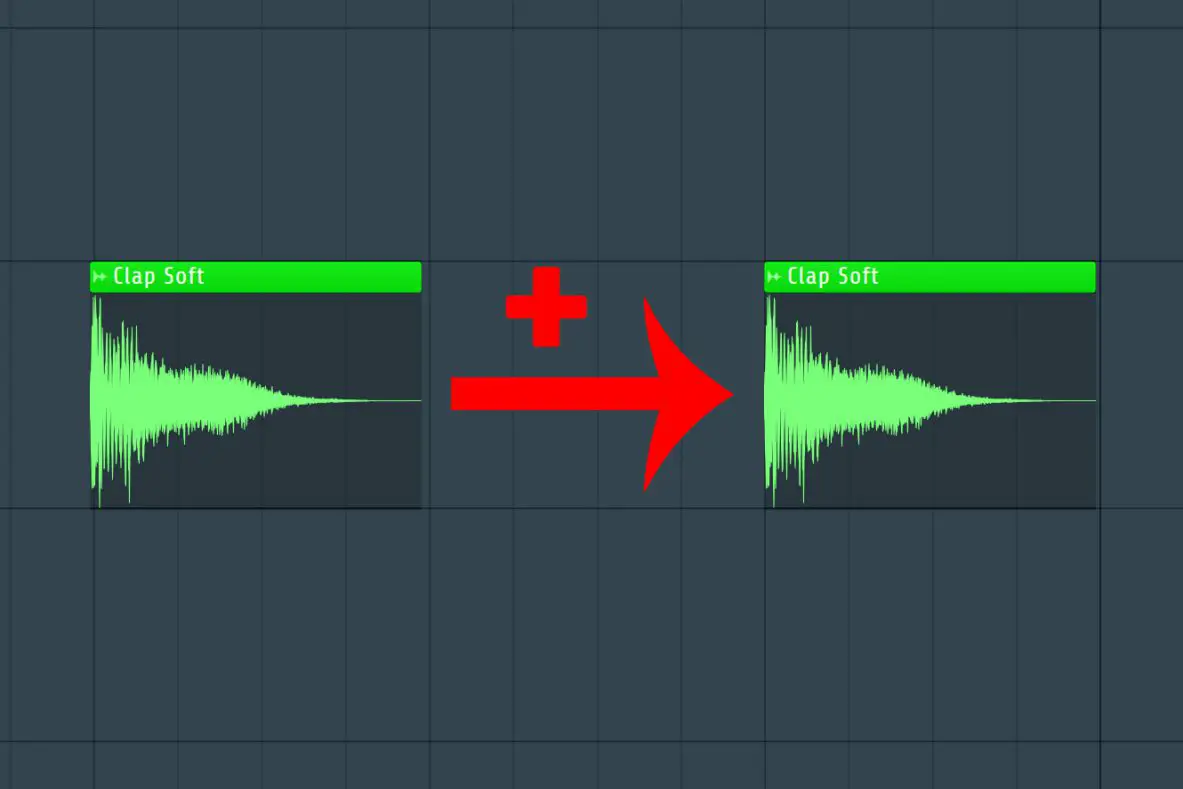
Generally, the easiest way to copy and paste in FL Studio is this.
- Click on any object such as a pattern or an audio clip.
- Click on an empty area and you have now copied and pasted the object.
If you’re on Windows, you use the left click to do this, and if you right-click an object you can remove it.
However, things work a bit differently if you want to copy an entire selection at once.
Copying Multiple Objects
Copying and pasting works the same way in both the playlist editor and the piano roll. To copy and paste do the following.
1. Click on the select tool in the top right corner of the window.
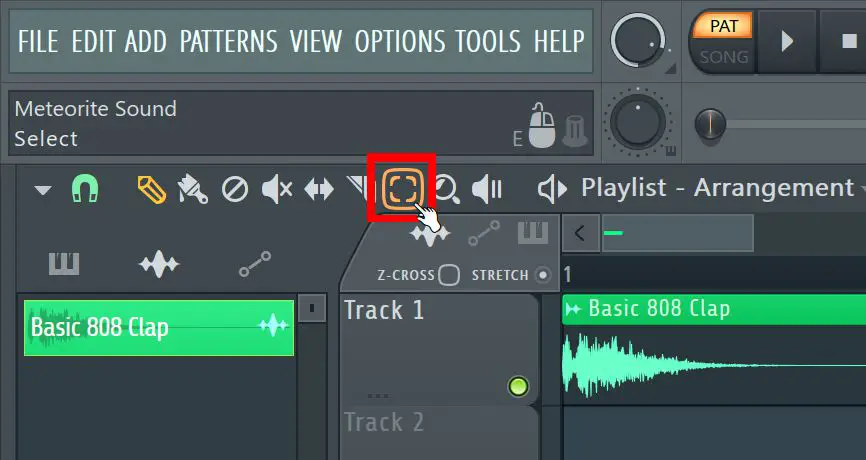
2. Now click on any object in the playlist editor or piano roll to select it. You can click, hold and drag to form a box that selects several objects at once.
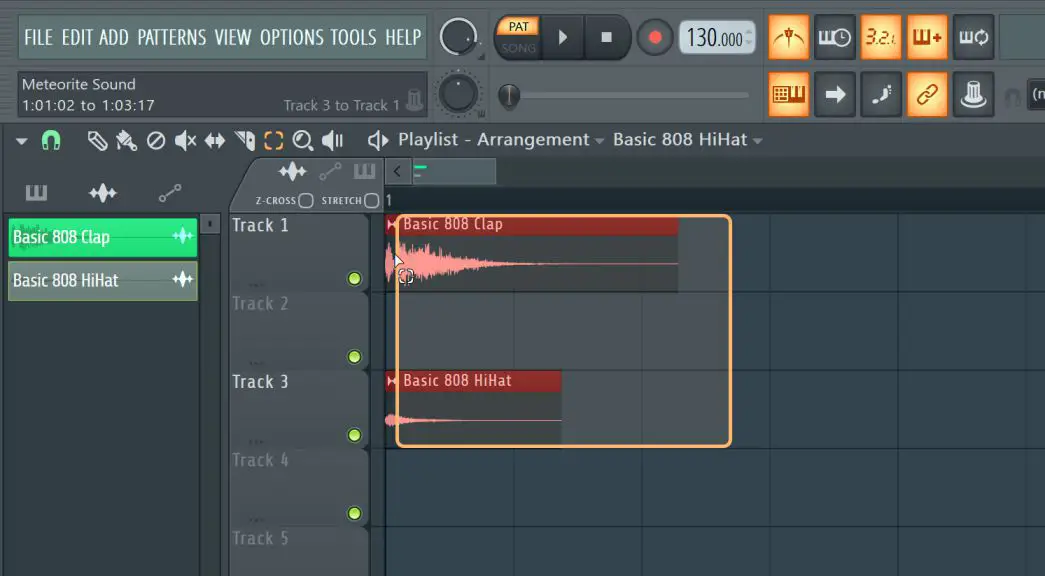
3. Press Ctrl+C to copy, and then Ctrl+V to paste. You have now copied the objects.
4. Switch to the Draw tool to move the copied objects to your desired location.
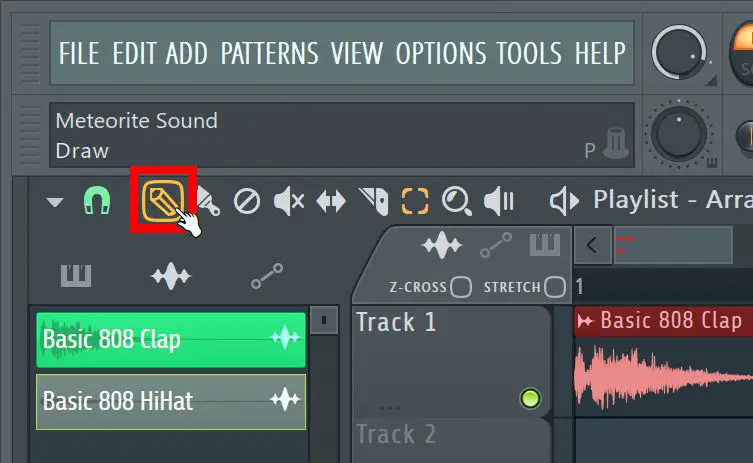
- Use the hotkeys to shift between the tools easily.
- When you copy and paste in FL Studio, audio clips and patterns may overlap each other.
- By zooming in and moving your location in the arrangement window or piano roll. You control where the copies are placed.
Copying Automation Clips
Automation is a key function of FL Studio and your music projects. Let’s go over how to copy automation clips!
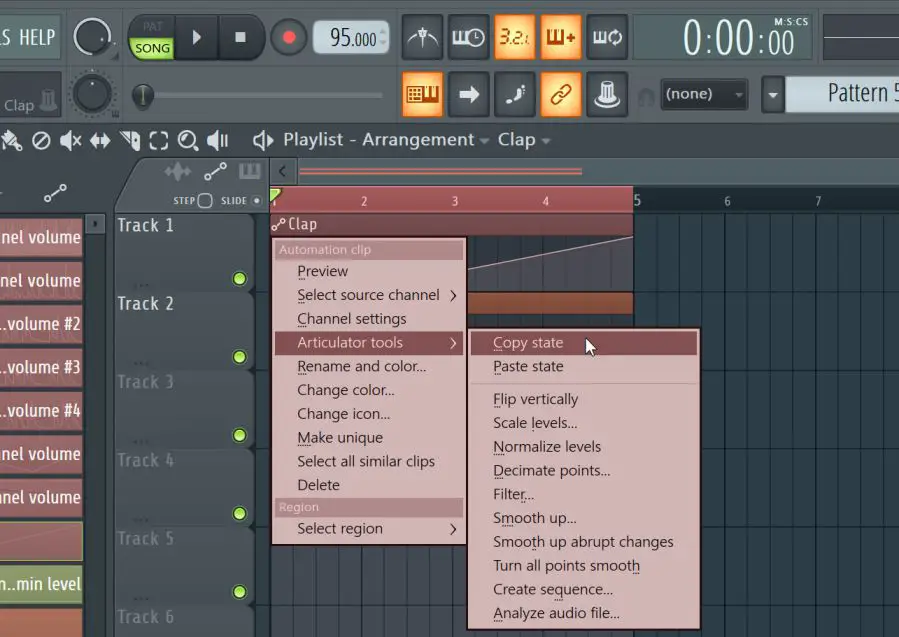
1. Click on the automation clip settings in the top left corner of the clip.
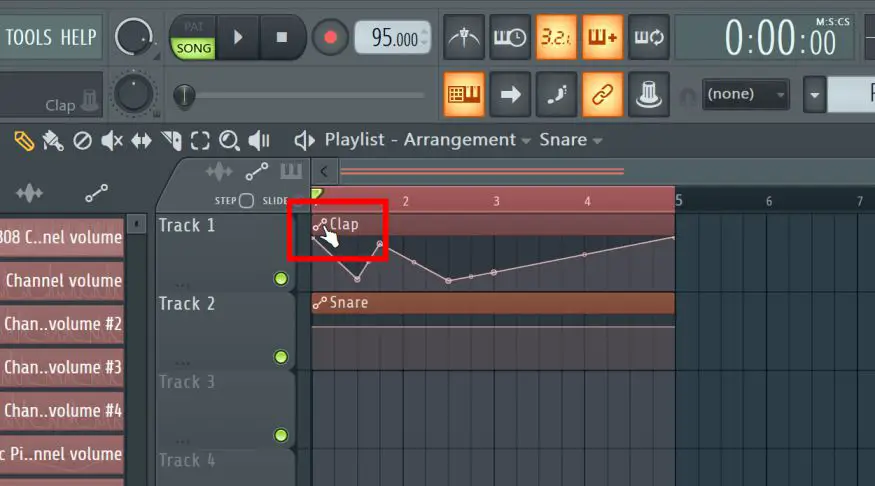
2. Choose copy state.
3. Go to the other automation clip’s menu and instead select paste state.
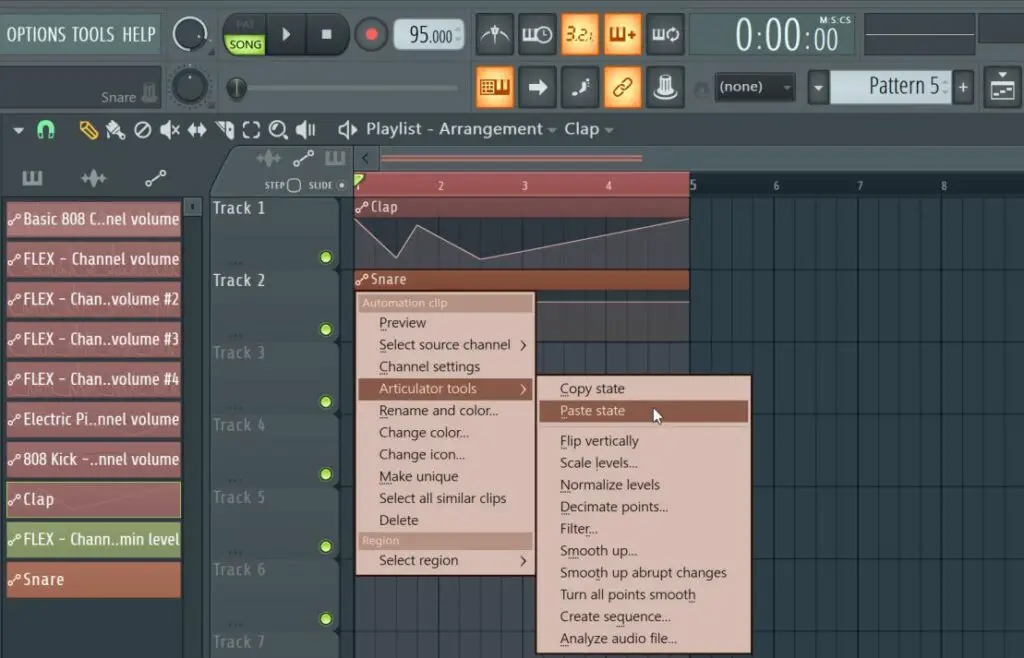
4. You’ve now copied the entire automation data from one clip to another.
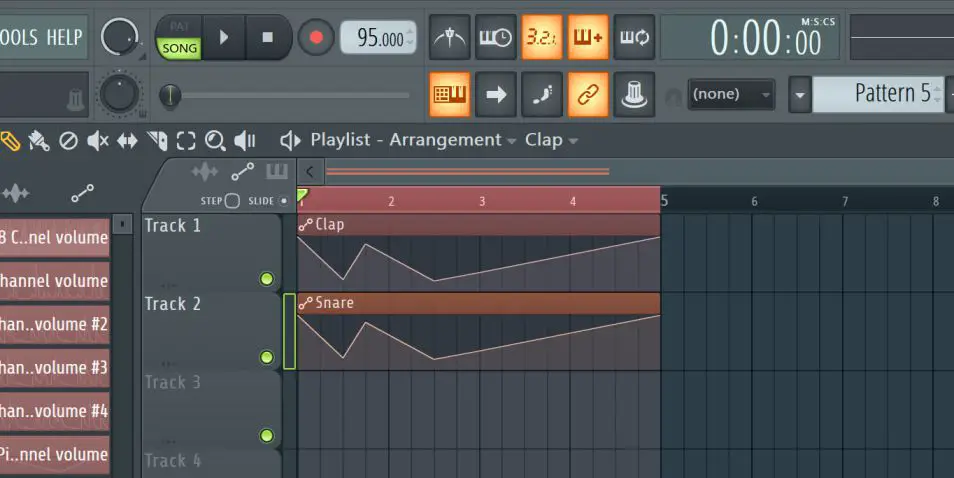
This is the way to copy the automation clips.
Copying an Automation Point
This is a pretty niche thing, but if you want to copy an automation point to another automation clip. It’s entirely possible. Just do the following.
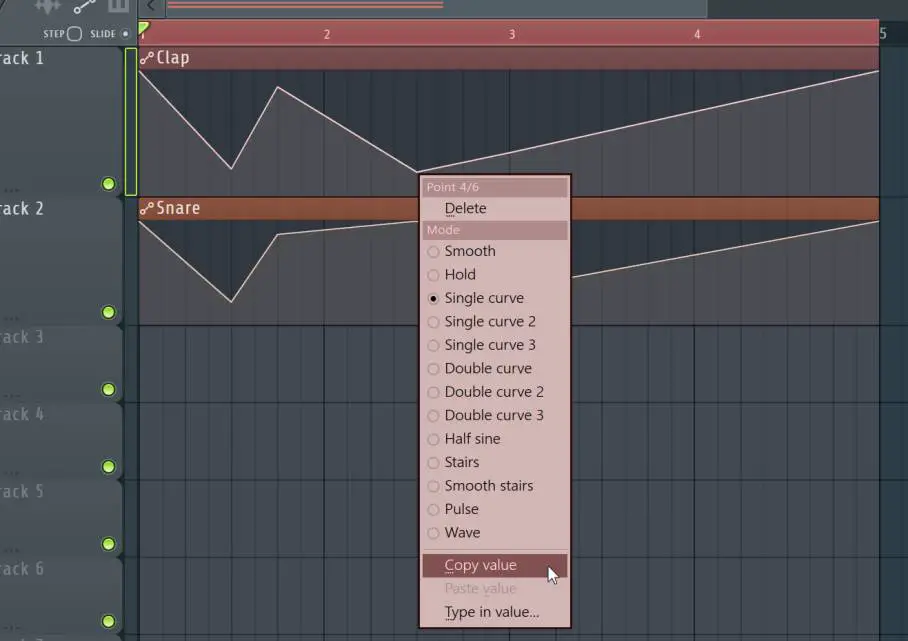
1.Select an automation point as shown below and right click on it.
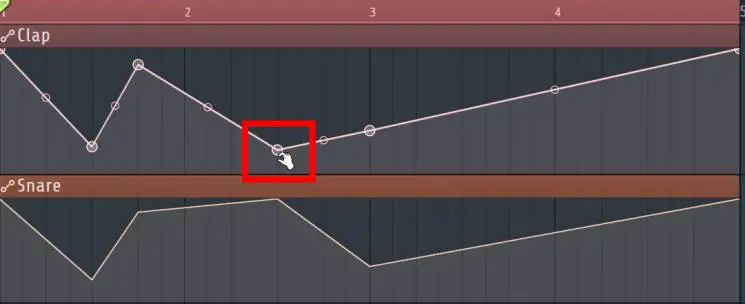
2. In the list select Copy value.
3. Select Paste value.
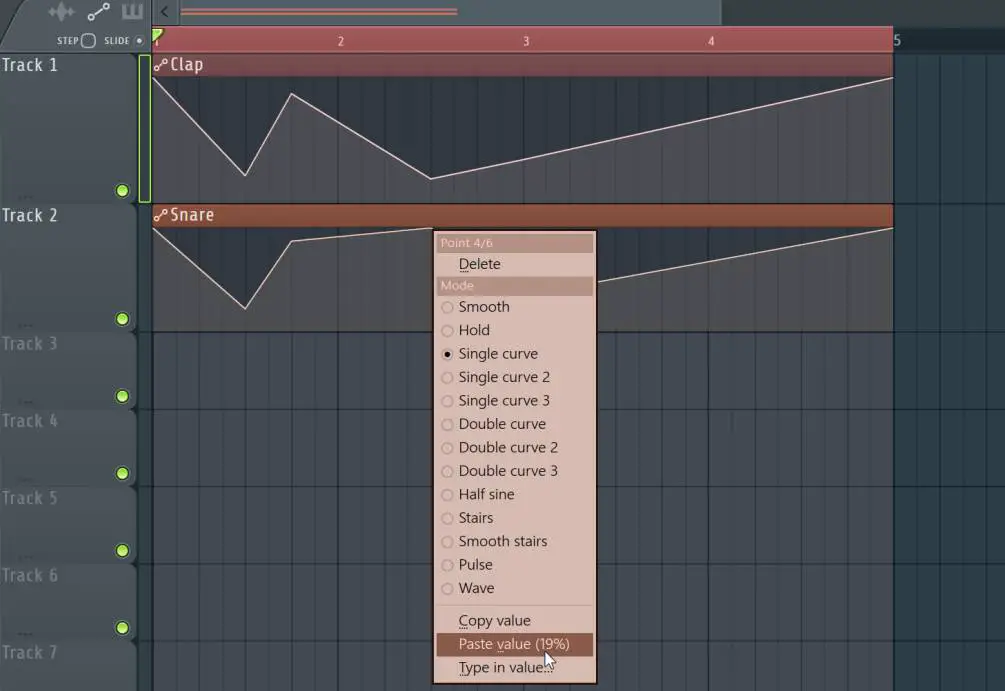
You’ve now copied an automation point from one clip to another.
Copying in the Channel Rack
You can copy instruments or audio clips within the Channel rack. This is really useful for certain situations when you need to make changes to one instrument, that you don’t want to apply to the other.
1. Go to the channel rack, select the audio clip or instrument you want to copy.
2. Right-click on it and select clone.
You’ve now cloned an instrument or audio clip in the channel rack.
You’re going to be using this command all the time, it’s so useful!
Copying Effects in the Mixer
You can copy an effect plugin including all of it’s settings.
1. Click on the pop-up menu.
2. Click and drag save preset as and drag it to an open slot.
3. You’ve now copied the effect.
You can copy effects in the mixer channel.
Copying and Pasting in Edison
Copying and pasting in FL Studios Edison plugin is a little tricky. It’s not as thought out or as intuitive as in the other areas of FL Studio.
- To copy an area, click and drag to form a selection.
- Press Ctrl+C to copy. You can also right-click and a menu will pop up. Go to Edit –> Copy.
- To paste your selection, select an area within Edison and Press Ctrl+V.
Conclusion
This was the ultimate copy and paste guide in FL Studio. You probably learned something you didnt know, at least I did when making this tutorial and I’ve been using FL Studio for over 15 years. Happy musicmaking everybody!


