Spotify’s recommendations for mastering are set up so that amateurs will fail from the get-go. Why? Let me explain that, and also, show you how to do it the right way.
Let’s begin with examining Spotify’s own tips/guidelines. This is a screenshot from their website, where they explain how to master for Spotify.
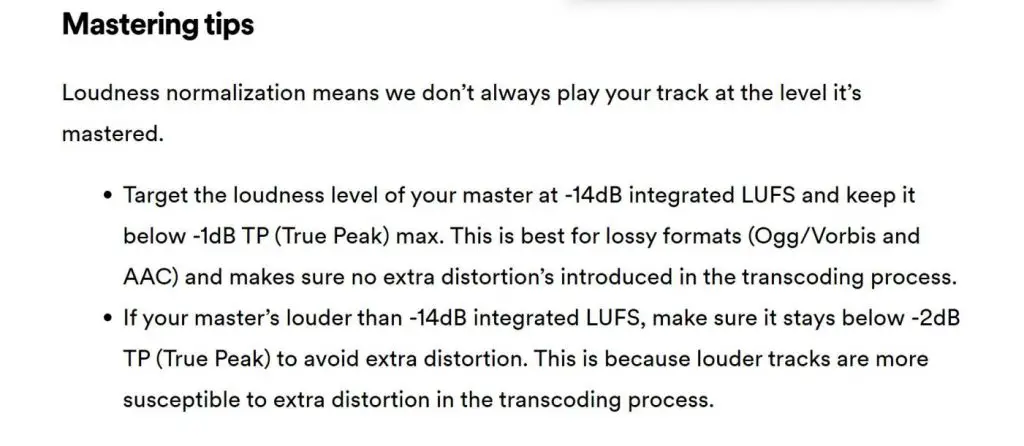
They want you to target -14db integrated LUFS with a -1dBTP true peak. But here’s why you never ever should master to that loudness, and why it’s actually impossible to follow their guidelines if you want a competitive track.
Spotify’s Loudness Normalization And The Big Issue
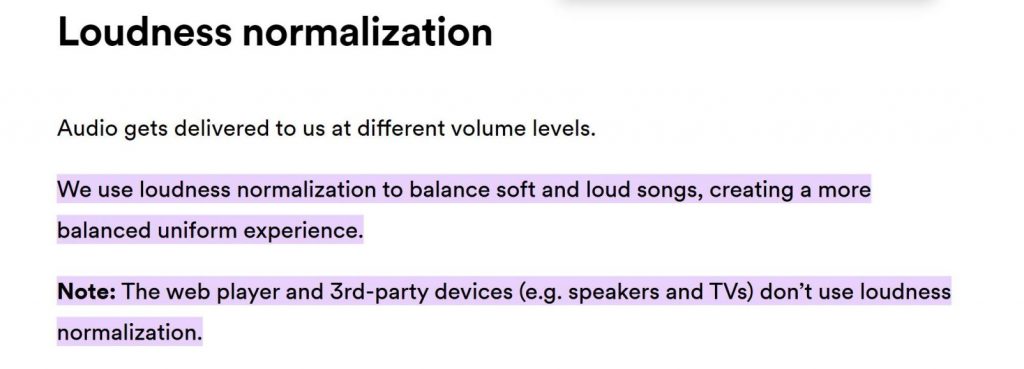
Spotify uses a function called loudness normalization which optimizes loudness across all of the tracks you play. A low-volume track gets turned up and a high-volume track gets turned down.
This is why you can upload a track with a low volume, and it will be at the same volume as if you uploaded a track with a high volume.
Loudness normalization is a setting you can turn on or off. But for all users, it’s automatically turned on, which is a good thing. However. What if that loudness normalization isn’t there? Then your track may be almost inaudible compared to a high-volume track.
This is the case, and this is why you can’t master according to Spotify’s guidelines. In 3rd party Spotify apps as well as on the Spotify web player. Loudness normalization doesn’t even exist.
Your tracks will simply not be able to compete with higher volume mastered tracks and it will confuse listeners, as they have to turn the volume way up to hear your track.
So How Do You Master The Correct Way?
It’s different for every genre. Electronic music tracks are often mastered loud because you want the highest energy possible. While acoustic songs will be mastered with a slightly lower volume and an increased dynamic range.
You can easily crank a song up to reach -8 integrated LUFS during certain parts. Some people will master their songs even louder, and go up to -4 integrated LUFS short term.
A good starting point could be -11 LUFS integrated but remember. Those are arbitrary values. You don’t want to crush your track to the point of it sounding bad.
True peak value
The true peak should be somewhere around -0,2db or slightly lower. This is because when you convert a WAV file to MP3 or any other format. The true peak DB can go higher than when it was first measured in the DAW. This can introduce distortion.
This is why Spotify recommends having a true peak of -1 to -2db to prevent distortion during playback. That’s because Spotify converts your wave file to another format. Which causes the problem described above.
If you use a high-quality limiter set to -0,2db true peak, you will rarely get issues.
To be on the safe side. You can even convert your wave file to other formats such as OGG, AAC, Flac, or MP3, and then measure the true peak DB. This would be a safe way to take to get that little bit of extra loudness, so that you can remove any question marks.
The Story
In the CD era, everyone tried to make their songs as loud as possible in order to have competitive tracks. If one guy had a loud master, no other mastering engineer wanted to be left behind. So they made their own master at the same level, or a step above.
This created an effect over time, with a trend towards low dynamics and high DBs. It went on until the point of all music being released was sounding very squashed. You see, you cant master a track to extreme loudness without losing audio information.
As Spotify introduced volume normalization, many mix and mastering engineers thought the loudness war was over, and in a way that’s true.
However, because of the simple reason that loudness normalization isnt applied on every Spotify application, it doesn’t hold up to master to Spotify’s own guidelines. The loudness war isn’t over.


